Building a Quantum Random Number Generator with Qiskit
Every random number your computer has ever produced is fake.
That sounds dramatic, but it is technically true. Classical computers are deterministic machines. They cannot produce true randomness — only pseudorandomness, sequences that merely look random while being fully determined by an initial seed. Give random.seed(42) to Python and it will produce the same "random" numbers on every machine, forever.
For most applications that's fine. But for cryptography, scientific simulation, and — as I found out — generative art, there are good reasons to want the real thing. A quantum random number generator (QRNG) exploits the fundamental indeterminacy of quantum mechanics to produce numbers that are genuinely, provably unpredictable. Not because the algorithm is complex, but because the universe itself has not decided the outcome until the moment of measurement.
I built the QRNG in this tutorial for the Quantum Genesis collection, and it seeded all 100 pieces of art. Everything here runs on real IBM quantum hardware — no simulator, no math.random() hidden in the pipeline. This walkthrough is the same code, end to end.

Prerequisites
You'll need:
- Python 3.9+
- A free IBM Quantum account at quantum.ibm.com
- Your IBM Quantum API token (under account settings)
Install the packages:
pip install qiskit qiskit-ibm-runtimeThat's it. No special hardware — IBM grants free access to real processors with up to 156 qubits.
Part 1: the simplest QRNG — one qubit, one bit
from qiskit.circuit import QuantumCircuit

# Create a circuit with 1 qubit and 1 classical bit
qc = QuantumCircuit(1, 1)

# Apply Hadamard gate: puts qubit in equal superposition of |0⟩ and |1⟩
qc.h(0)

# Measure the qubit into the classical bit
qc.measure(0, 0)

print(qc.draw())
Output:
     ┌───┐┌─┐
q_0: ┤ H ├┤M├
     └───┘└╥┘
c_0: ══════╩═
That is the entire circuit. The qubit starts at |0⟩. The Hadamard gate puts it into an equal superposition — 50% |0⟩, 50% |1⟩. Measurement forces it to "choose," and that choice is genuinely random. One bit: 0 or 1, exactly 50/50, no seed, no determinism.
To test on a simulator first:
from qiskit.primitives import StatevectorSampler

sampler = StatevectorSampler()
job = sampler.run([qc], shots=10)
result = job.result()

# Get the counts
counts = result[0].data.c.get_counts()
print(counts)  # e.g., {'0': 6, '1': 4}
The simulator gives mathematically ideal results. Real hardware layers genuine physical noise on top.
Part 2: multi-qubit — 8 bits per shot
One bit at a time is slow. Spread Hadamard across 8 qubits and each shot yields a full random byte:
from qiskit.circuit import QuantumCircuit

def build_byte_circuit():
    """Create an 8-qubit circuit that produces one random byte per shot."""
    qc = QuantumCircuit(8, 8)

    # Apply Hadamard to all 8 qubits
    for i in range(8):
        qc.h(i)

    # Measure all qubits
    for i in range(8):
        qc.measure(i, i)

    return qc

qc = build_byte_circuit()
print(qc.draw())
Each shot now returns an 8-bit string like 10110011 — a number from 0 to 255. With 4,096 shots, that's 4,096 random bytes in a single circuit execution.
Why is this uniform? Hadamard maps |0⟩ to (|0⟩ + |1⟩)/√2. Apply it to N independent qubits and you get a uniform superposition over all 2^N bitstrings. For 8 qubits there are 2^8 = 256 outcomes, each with probability 1/256 — the gold standard distribution for an RNG.
Part 3: entangled QRNG — what we actually used
For Quantum Genesis we went a step further. Instead of independent qubits, we used entanglement to create correlated quantum randomness.
Independent Hadamard qubits give statistically independent bits, which is fine for a basic RNG. But entanglement creates correlations between qubits that enrich the statistical structure of the output. When hashed, those richer distributions make higher-quality seeds. Entanglement also makes the circuit more sensitive to the processor's noise characteristics — exactly what we wanted, since each processor's noise profile becomes part of the art.
from qiskit.circuit import QuantumCircuit

def build_nft_seed_circuit(num_qubits=12):
    """Build a maximally entangled circuit for quantum seed generation.

    H layer creates superposition on all qubits.
    CNOT chain creates maximum entanglement between neighbors.
    Result: a complex entangled state that produces rich measurement statistics.
    """
    qc = QuantumCircuit(num_qubits, num_qubits)

    # Step 1: Hadamard layer — put every qubit in superposition
    for i in range(num_qubits):
        qc.h(i)

    # Step 2: CNOT chain — entangle neighboring qubits
    for i in range(num_qubits - 1):
        qc.cx(i, i + 1)

    # Step 3: Measure all qubits
    for i in range(num_qubits):
        qc.measure(i, i)

    return qc

circuit = build_nft_seed_circuit(12)
print(circuit.draw())
The CNOT gates create a chain of entanglement. Measure qubit 0 and you instantly influence the probability distribution of qubit 1, which influences qubit 2, and so on. The qubits are no longer independent — they are a single entangled quantum system. This is the exact circuit we used to generate seeds for all 100 pieces; NFTs #19–100 came from ibm_fez (156 qubits) and ibm_torino (133 qubits).
Part 4: running on real quantum hardware
Now the part I actually enjoy — submitting to a physical machine.
from qiskit_ibm_runtime import QiskitRuntimeService

# First time only: save your credentials
QiskitRuntimeService.save_account(
    channel="ibm_quantum_platform",
    token="YOUR_IBM_QUANTUM_TOKEN",
    overwrite=True
)

# Connect to the service
service = QiskitRuntimeService(channel="ibm_quantum_platform")
Pick the least-busy real processor with at least the qubits you need:
# Find the least busy real quantum processor with at least 12 qubits
backend = service.least_busy(
    simulator=False,
    min_num_qubits=12
)
print(f"Selected backend: {backend.name}")
# e.g., "ibm_fez" (156 qubits) or "ibm_torino" (133 qubits)
Quantum processors have physical constraints — not all qubits connect to each other, and only certain gates are native. Transpilation adapts your abstract circuit to the hardware:
from qiskit.transpiler.preset_passmanagers import generate_preset_pass_manager

# Create a pass manager optimized for this specific backend
pm = generate_preset_pass_manager(
    backend=backend,
    optimization_level=1  # 0=none, 1=light, 2=medium, 3=heavy
)

# Transpile: map logical qubits to physical qubits
isa_circuit = pm.run(circuit)
print(f"Circuit depth after transpilation: {isa_circuit.depth()}")
Run it:
from qiskit_ibm_runtime import SamplerV2 as Sampler

# Create sampler bound to our backend
sampler = Sampler(mode=backend)

# Run the circuit with 4096 shots
job = sampler.run([isa_circuit], shots=4096)
print(f"Job ID: {job.job_id()}")
print("Waiting for results from quantum hardware...")

# Get results (this blocks until the job completes)
result = job.result()
print("Done!")
Depending on the queue this takes anywhere from seconds to a few minutes. Your circuit is running on real superconducting qubits cooled to 15 millikelvin — colder than outer space.
Extract the data:
# SamplerV2 stores results in the classical register 'c'
counts = result[0].data.c.get_counts()

print(f"Number of unique bitstrings: {len(counts)}")
print(f"Total shots: {sum(counts.values())}")

# Show top 5 most frequent bitstrings
sorted_counts = sorted(counts.items(), key=lambda x: x[1], reverse=True)
for bitstring, count in sorted_counts[:5]:
    print(f"  {bitstring}: {count} ({count/4096*100:.1f}%)")
One note on SamplerV2: results are accessed via result[0].data.c where c is the classical register name. This differs from older Qiskit versions that used .data.meas.
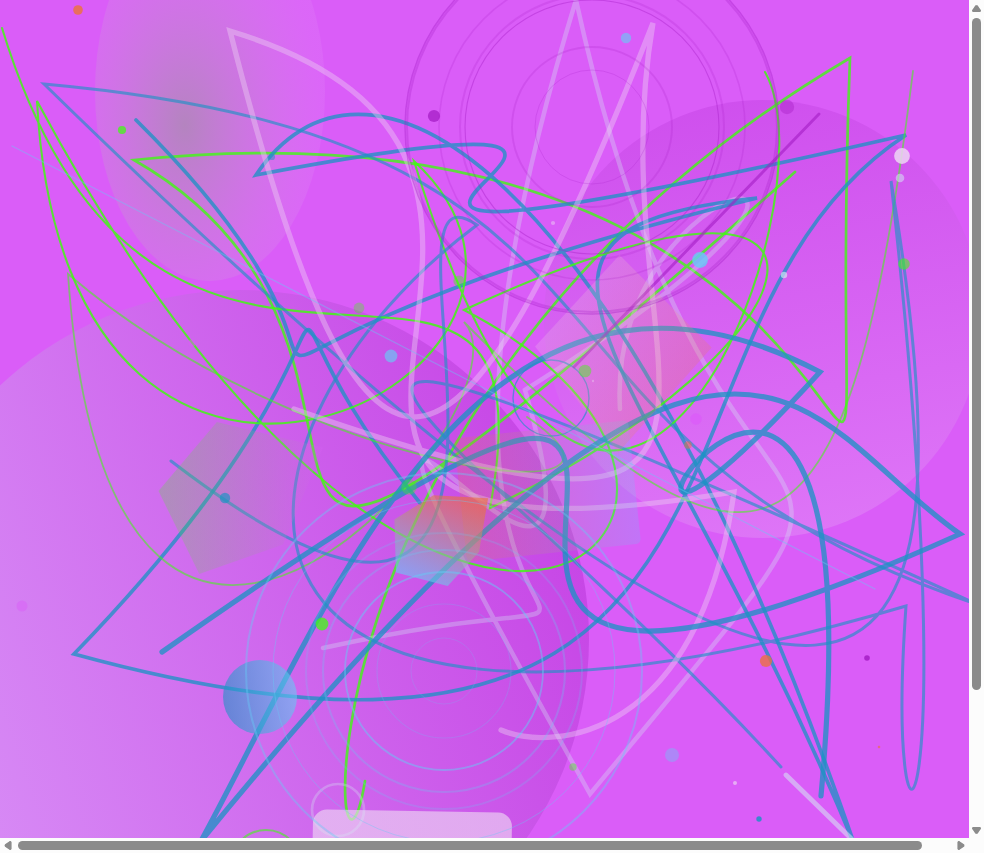
Quantum Genesis #50 — its entire color palette, composition, and texture were generated from quantum measurement data using exactly this code.
Part 5: turning measurements into usable random data
Raw measurements give you a dictionary of bitstrings and counts. To use it as a general-purpose seed, hash the entire distribution:
import hashlib
import json

def measurements_to_seed(counts: dict) -> str:
    """Convert quantum measurement counts to a hex seed.

    Sorts the bitstrings for determinism, then hashes with SHA-256.
    The resulting hex string can seed any RNG or be used directly.
    """
    # Sort for deterministic ordering
    sorted_data = json.dumps(counts, sort_keys=True)

    # SHA-256 hash of the full measurement data
    hex_seed = hashlib.sha256(sorted_data.encode()).hexdigest()

    return hex_seed

seed = measurements_to_seed(counts)
print(f"Quantum seed: {seed}")
# e.g., "a3f8b2c1d4e5f6..."  (64 hex chars = 256 bits)
Use it however you like:
import random

# Option A: Seed Python's random module
random.seed(int(seed, 16))
print(f"Random float: {random.random()}")
print(f"Random int 1-100: {random.randint(1, 100)}")

# Option B: Use as raw bytes for cryptographic applications
raw_bytes = bytes.fromhex(seed)
print(f"Random bytes: {raw_bytes.hex()}")

# Option C: Feed into a custom RNG (like our QuantumRNG class)
# This is what we did for the NFT art generation
For the collection we used a custom xorshift128+-style RNG seeded from a SHA-512 hash of the quantum data. It lets us generate millions of values from a single quantum seed while preserving the quantum origin:
import hashlib

class QuantumRNG:
    """PRNG seeded from quantum measurement data via SHA-512.
    Uses xorshift128+ for fast, high-quality generation."""

    MASK = 0xFFFFFFFFFFFFFFFF  # 64-bit mask

    def __init__(self, hex_seed: str):
        digest = hashlib.sha512(hex_seed.encode()).hexdigest()
        self.state = [
            int(digest[i:i+16], 16)
            for i in range(0, 64, 16)
        ]

    def next_float(self) -> float:
        """Return a random float in [0, 1)."""
        s1 = self.state[0]
        s0 = self.state[1]
        self.state[0] = s0
        s1 ^= (s1 << 23) & self.MASK
        self.state[1] = s1 ^ s0 ^ (s1 >> 17) ^ (s0 >> 26)
        result = (self.state[1] + s0) & self.MASK
        return result / (1 << 64)

    def next_int(self, min_val: int, max_val: int) -> int:
        """Return a random integer in [min_val, max_val]."""
        return min_val + int(self.next_float() * (max_val - min_val + 1))

# Usage
rng = QuantumRNG(seed)
print(f"Quantum random float: {rng.next_float()}")
print(f"Quantum random color: #{rng.next_int(0, 0xFFFFFF):06x}")
Part 6: verifying randomness quality
How do you know your numbers are actually random? You test them. Two standard checks:
Chi-squared test — does the distribution deviate from uniform?
from scipy import stats
import numpy as np

def chi_squared_test(counts: dict, num_qubits: int, shots: int):
    """Test whether measurement counts follow a uniform distribution."""
    num_outcomes = 2 ** num_qubits
    expected = shots / num_outcomes  # Expected count per bitstring

    observed = np.zeros(num_outcomes)
    for bitstring, count in counts.items():
        index = int(bitstring, 2)
        observed[index] = count

    chi2, p_value = stats.chisquare(observed, f_exp=[expected] * num_outcomes)

    print(f"Chi-squared statistic: {chi2:.2f}")
    print(f"P-value: {p_value:.6f}")
    print(f"Result: {'PASS (uniform)' if p_value > 0.01 else 'FAIL (non-uniform)'}")

    return p_value

chi_squared_test(counts, num_qubits=12, shots=4096)
Shannon entropy — information content of the distribution. Maximum entropy means maximum randomness:
import math

def shannon_entropy(counts: dict, shots: int) -> float:
    """Calculate Shannon entropy of measurement distribution.

    Maximum entropy for N outcomes = log2(N).
    For 12 qubits: max entropy = 12.0 bits.
    """
    entropy = 0.0
    for count in counts.values():
        if count > 0:
            p = count / shots
            entropy -= p * math.log2(p)

    max_entropy = math.log2(2 ** 12)  # = 12.0 for 12 qubits
    efficiency = entropy / max_entropy * 100

    print(f"Shannon entropy: {entropy:.4f} bits")
    print(f"Maximum possible: {max_entropy:.4f} bits")
    print(f"Efficiency: {efficiency:.1f}%")

    return entropy

shannon_entropy(counts, shots=4096)
All 100 Quantum Genesis seeds passed both tests with high entropy scores — the hardware consistently produced near-maximum-entropy distributions. The entropy scores are stored as on-chain attributes for each piece.
Complete code
Here is everything combined into one ready-to-run script:
"""
Quantum Random Number Generator using Qiskit + IBM Quantum
Generates true random numbers from real quantum hardware.

Usage:
    pip install qiskit qiskit-ibm-runtime
    python qrng.py
"""

import hashlib
import json
import math
from qiskit.circuit import QuantumCircuit
from qiskit_ibm_runtime import QiskitRuntimeService, SamplerV2 as Sampler
from qiskit.transpiler.preset_passmanagers import generate_preset_pass_manager

def build_qrng_circuit(num_qubits: int = 12) -> QuantumCircuit:
    """Build an entangled QRNG circuit (H + CNOT chain)."""
    qc = QuantumCircuit(num_qubits, num_qubits)
    for i in range(num_qubits):
        qc.h(i)
    for i in range(num_qubits - 1):
        qc.cx(i, i + 1)
    for i in range(num_qubits):
        qc.measure(i, i)
    return qc

def run_on_hardware(circuit: QuantumCircuit, shots: int = 4096) -> dict:
    """Run circuit on real IBM quantum hardware."""
    service = QiskitRuntimeService(channel="ibm_quantum_platform")
    backend = service.least_busy(simulator=False, min_num_qubits=12)
    print(f"Running on {backend.name}...")

    pm = generate_preset_pass_manager(backend=backend, optimization_level=1)
    isa_circuit = pm.run(circuit)

    sampler = Sampler(mode=backend)
    job = sampler.run([isa_circuit], shots=shots)
    result = job.result()

    return result[0].data.c.get_counts()

def counts_to_seed(counts: dict) -> str:
    """Convert measurement counts to a SHA-256 hex seed."""
    sorted_data = json.dumps(counts, sort_keys=True)
    return hashlib.sha256(sorted_data.encode()).hexdigest()

def verify_entropy(counts: dict, shots: int, num_qubits: int):
    """Print Shannon entropy of the measurement distribution."""
    entropy = 0.0
    for count in counts.values():
        if count > 0:
            p = count / shots
            entropy -= p * math.log2(p)
    max_ent = math.log2(2 ** num_qubits)
    print(f"Entropy: {entropy:.4f} / {max_ent:.4f} bits ({entropy/max_ent*100:.1f}%)")

if __name__ == "__main__":
    NUM_QUBITS = 12
    SHOTS = 4096

    print("Building quantum circuit...")
    circuit = build_qrng_circuit(NUM_QUBITS)

    print("Submitting to quantum hardware...")
    counts = run_on_hardware(circuit, SHOTS)

    seed = counts_to_seed(counts)
    print(f"\nQuantum seed: {seed}")

    verify_entropy(counts, SHOTS, NUM_QUBITS)
    print(f"\nUnique bitstrings measured: {len(counts)}")
    print("Done! Use this seed for any application requiring true randomness.")
That's under 60 lines for a working QRNG that runs on real hardware. Copy it, run it, and you'll have genuine quantum randomness in minutes.
Where to go from here
A QRNG is a foundation. Some things to build on top:
- Generative art — like our Quantum Genesis collection
- Cryptographic key generation — quantum-grade entropy for encryption keys
- Fair lotteries and gaming — provably unbiased random selection
- Monte Carlo simulations — scientific computing with true randomness
- NFT trait generation — on-chain verifiable quantum randomness
IBM gives you free access to real quantum hardware. The barrier to entry is lower than most people assume, and the results — as the collection demonstrates — are unlike anything a deterministic generator can reach. If you build something with this, I'd be curious to hear how it turns out.


Comments
Post a Comment