Screenshotting 100 SVGs to PNGs with headless Chrome on Windows
We had 100 SVG artworks generated by quantum computers, and we needed PNGs to put on IPFS. SVG support across NFT platforms and wallets is inconsistent enough that we didn't want to rely on it, so the vector files had to become raster files. On Linux or macOS you'd type cairosvg.svg2png(...) and be done in five minutes.
We were on Windows. It took considerably longer than that, and most of the "obvious" solutions quietly destroyed our art before I found one that worked: pointing headless Chrome at each SVG and taking a screenshot.

The core problem
SVG is XML, and converting it to PNG requires a real SVG rendering engine — something that parses the markup, executes gradient definitions, applies filters, composites layers, and only then emits pixels. That's the whole job, and the Python ecosystem's default tool for it is cairosvg, which wraps the Cairo 2D library:
# This works beautifully on Linux and macOS
import cairosvg
cairosvg.svg2png(url="input.svg", write_to="output.png", output_width=1000)
On Windows, that line dies immediately:
OSError: no library called "cairo-2" was found
no library called "cairo" was found
no library called "libcairo-2" was found
Cairo is a C library. On Linux you apt install libcairo2-dev; on macOS you brew install cairo. On Windows there's no clean path — you download prebuilt Cairo DLLs, add them to PATH, hope the version matches what the Python binding expects, then chase down libpng, zlib, pixman, fontconfig, and freetype as they surface one by one. We spent about an hour on DLL hell before giving up.
The alternatives that failed us
Inkscape's CLI can absolutely do the conversion:
inkscape input.svg --export-type=png --export-filename=output.pngBut it takes 3-5 seconds just to start up per file. For 100 files that's 5-8 minutes of watching a splash screen, and worse, Inkscape's SVG rendering doesn't always match a browser's — our gradient filters came out visibly different.
svglib + reportlab is pure Python with no native deps:
from svglib.svglib import svg2rlg
from reportlab.graphics import renderPM
drawing = svg2rlg("input.svg")
renderPM.drawToFile(drawing, "output.png", fmt="PNG")
But svglib's SVG support is limited. Our art uses feTurbulence filters, radial gradients with spreadMethod, and stroke-linecap attributes that svglib simply ignores. The output was missing half the visual elements.
Wand (the ImageMagick binding) needed ImageMagick installed, and its SVG renderer also tripped over our filter effects — the noise texture overlay vanished entirely.
Puppeteer/Playwright work great, but they're Node.js, and our whole pipeline was Python. Adding a Node dependency just for this felt wrong.
Which brings us to Selenium.
The idea
Chrome's SVG renderer is among the best that exists — browsers have spent decades perfecting it. If we could get headless Chrome to load an SVG and screenshot it, we'd get pixel-perfect output matching exactly what a browser tab shows. Selenium drives a browser programmatically, so the plan was:
- Launch headless Chrome with Selenium
- Open the SVG as a local
file://URL - Set the viewport to the SVG's dimensions
- Screenshot, and save as PNG
Chrome handles every feature we used — gradients, filters, bezier curves, opacity blending, feTurbulence noise — all of it.
Setup
Three pieces:
pip install seleniumChrome is usually already on a Windows machine. And since Selenium 4.6, ChromeDriver is automatic — selenium-manager downloads the right version for you:
from selenium import webdriver
from selenium.webdriver.chrome.options import Options

# Selenium 4.6+ handles ChromeDriver automatically
options = Options()
options.add_argument("--headless=new")  # New headless mode (Chrome 112+)
driver = webdriver.Chrome(options=options)  # Auto-downloads chromedriver
On older Selenium, use webdriver-manager:
pip install webdriver-manager

from selenium.webdriver.chrome.service import Service
from webdriver_manager.chrome import ChromeDriverManager

service = Service(ChromeDriverManager().install())
driver = webdriver.Chrome(service=service, options=options)
Converting one SVG
import os
from selenium import webdriver
from selenium.webdriver.chrome.options import Options

def svg_to_png(svg_path: str, png_path: str, width: int = 1000, height: int = 1000):
    """Convert an SVG file to PNG using headless Chrome."""

    options = Options()
    options.add_argument("--headless=new")
    options.add_argument("--disable-gpu")
    options.add_argument("--no-sandbox")
    options.add_argument("--disable-dev-shm-usage")
    options.add_argument(f"--window-size={width},{height}")

    # Force device scale factor to 1 (prevents HiDPI scaling)
    options.add_argument("--force-device-scale-factor=1")

    driver = webdriver.Chrome(options=options)

    try:
        driver.set_window_size(width, height)

        abs_path = os.path.abspath(svg_path)
        file_url = f"file:///{abs_path.replace(os.sep, '/')}"
        driver.get(file_url)

        # Remove any default margins/padding Chrome adds
        driver.execute_script("""
            document.body.style.margin = '0';
            document.body.style.padding = '0';
            document.body.style.overflow = 'hidden';
            var svg = document.querySelector('svg');
            if (svg) {
                svg.style.display = 'block';
                svg.style.width = '100%';
                svg.style.height = '100%';
            }
        """)

        driver.save_screenshot(png_path)
        print(f"Converted: {svg_path} -> {png_path}")

    finally:
        driver.quit()

# Usage
svg_to_png("quantum_genesis_001.svg", "quantum_genesis_001.png")
A few details worth knowing:
--headless=newis Chrome's newer headless mode (since Chrome 112) and renders identically to headed mode. The old--headlessflag used a different rendering path that could differ visually.--force-device-scale-factor=1stops HiDPI/Retina displays from rendering at 2x, forcing clean 1:1 pixels.- The JS injection strips Chrome's default body margins, which would otherwise add 8px of white space.
driver.quit()in afinallyblock closes Chrome even on error; leaked Chrome processes are a classic failure mode.
Batch processing 100 files
Starting and killing Chrome 100 times is slow — roughly 2 seconds each round — so we reused one browser instance:
import os
import time
from selenium import webdriver
from selenium.webdriver.chrome.options import Options

def batch_svg_to_png(
    input_dir: str,
    output_dir: str,
    width: int = 1000,
    height: int = 1000
):
    """Batch convert all SVGs in a directory to PNG."""

    os.makedirs(output_dir, exist_ok=True)

    svg_files = sorted([
        f for f in os.listdir(input_dir) if f.endswith('.svg')
    ])
    total = len(svg_files)
    print(f"Found {total} SVG files to convert")

    options = Options()
    options.add_argument("--headless=new")
    options.add_argument("--disable-gpu")
    options.add_argument("--no-sandbox")
    options.add_argument("--disable-dev-shm-usage")
    options.add_argument(f"--window-size={width},{height}")
    options.add_argument("--force-device-scale-factor=1")

    # Disable animations (prevents inconsistent screenshots)
    options.add_experimental_option("prefs", {
        "webkit.webprefs.animation_policy": 2  # IMAGE_ANIMATION_POLICY_NO_ANIMATION
    })

    driver = webdriver.Chrome(options=options)
    driver.set_window_size(width, height)

    start_time = time.time()
    converted = 0
    errors = 0

    try:
        for i, svg_file in enumerate(svg_files, 1):
            svg_path = os.path.join(input_dir, svg_file)
            png_file = svg_file.replace('.svg', '.png')
            png_path = os.path.join(output_dir, png_file)

            try:
                abs_path = os.path.abspath(svg_path)
                file_url = f"file:///{abs_path.replace(os.sep, '/')}"
                driver.get(file_url)

                driver.execute_script("""
                    document.body.style.margin = '0';
                    document.body.style.padding = '0';
                    document.body.style.overflow = 'hidden';
                    document.body.style.background = 'transparent';
                    var svg = document.querySelector('svg');
                    if (svg) {
                        svg.style.display = 'block';
                        svg.style.width = '100%';
                        svg.style.height = '100%';
                    }
                """)

                # Brief pause for rendering (filters need time)
                time.sleep(0.1)

                driver.save_screenshot(png_path)
                converted += 1

                elapsed = time.time() - start_time
                rate = converted / elapsed
                remaining = (total - i) / rate if rate > 0 else 0
                print(f"[{i}/{total}] {svg_file} -> {png_file} "
                      f"({rate:.1f}/s, ~{remaining:.0f}s remaining)")

            except Exception as e:
                errors += 1
                print(f"[{i}/{total}] ERROR: {svg_file}: {e}")

    finally:
        driver.quit()

    elapsed = time.time() - start_time
    print(f"\nDone: {converted} converted, {errors} errors, {elapsed:.1f}s total")

# Usage
batch_svg_to_png(
    input_dir="nft-output/svg",
    output_dir="nft-output/png",
    width=1000,
    height=1000
)
With a single reused browser we got ~0.3 seconds per file — about 30 seconds for all 100 SVGs. That's 6-7x faster than restarting Chrome per file.
The details that matter
Resolution. Our SVGs are 1000x1000, and the screenshots came out 1000x1000 — a 1:1 mapping. Want 2x output?
# For 2x resolution (2000x2000 PNG from 1000x1000 SVG):
options.add_argument("--force-device-scale-factor=2")
driver.set_window_size(1000, 1000)  # Viewport stays 1000x1000
# Screenshot will be 2000x2000 pixels
Because SVG is vector, it scales crisply with no interpolation artifacts.
Color. Chrome defaults to sRGB, which matches most displays and web platforms. If you need a specific profile:
options.add_argument("--force-color-profile=srgb")Transparency. save_screenshot() renders onto a white background. Transparent SVGs won't survive this approach directly — you'd need a Pillow pass to composite. Ours all had opaque dark-gradient backgrounds, so we never hit it.
That 0.1-second pause. feTurbulence and friends are expensive to compute. Without the time.sleep(0.1) before the screenshot, some files captured partially-rendered noise textures. 100ms was enough for our 1000x1000 SVGs; hairier SVGs may need more.
Post-processing with Pillow
After conversion we ran everything through Pillow to slim the files down:
from PIL import Image
import os

def post_process_png(png_path: str, output_path: str = None):
    """Optional post-processing: optimize file size."""
    if output_path is None:
        output_path = png_path

    img = Image.open(png_path)

    # Verify dimensions
    assert img.size == (1000, 1000), f"Unexpected size: {img.size}"

    # Convert RGBA to RGB (removes alpha channel, reduces file size)
    if img.mode == 'RGBA':
        background = Image.new('RGB', img.size, (0, 0, 0))
        background.paste(img, mask=img.split()[3])
        img = background

    # Save with optimization
    img.save(output_path, 'PNG', optimize=True)

    original_size = os.path.getsize(png_path)
    new_size = os.path.getsize(output_path)
    saved = ((original_size - new_size) / original_size) * 100
    print(f"Optimized: {original_size:,} -> {new_size:,} bytes ({saved:.1f}% smaller)")

# Batch post-process
for f in sorted(os.listdir("nft-output/png")):
    if f.endswith('.png'):
        post_process_png(os.path.join("nft-output/png", f))
Pillow's PNG optimization cut file sizes by 10-25% with no visible quality loss — roughly 15MB of total IPFS storage across the 100 files.
We also used Pillow to catch blank screenshots, which happen when Chrome fails to load an SVG:
from PIL import Image, ImageStat

def verify_png(png_path: str) -> bool:
    """Check that the PNG isn't blank."""
    img = Image.open(png_path)
    stat = ImageStat.Stat(img)

    # Check if all channels have very low variance (= solid color)
    if all(s < 1.0 for s in stat.stddev):
        print(f"WARNING: {png_path} appears to be a solid color!")
        return False

    # Check file size (blank PNGs are very small)
    size = os.path.getsize(png_path)
    if size < 5000:  # Less than 5KB is suspicious for 1000x1000
        print(f"WARNING: {png_path} is suspiciously small ({size} bytes)")
        return False

    return True
The full pipeline
- Install:
pip install selenium Pillow - Convert: headless Chrome via Selenium (one reused instance)
- Post-process: Pillow for optimization and verification
- Upload: optimized PNGs to IPFS via Pinata
Total for 100 files came to about 45 seconds (30s conversion + 15s post-processing).
The Selenium approach is admittedly a bit of a hack, but it produces output identical to what a browser tab shows. When your SVGs lean on advanced filters, complex gradients, and blend modes, browser rendering is genuinely the most reliable option on Windows. That's not a clever trick — it's just the tool that was never going to drop the expensive parts of our artwork, and every piece in the collection went through exactly this.
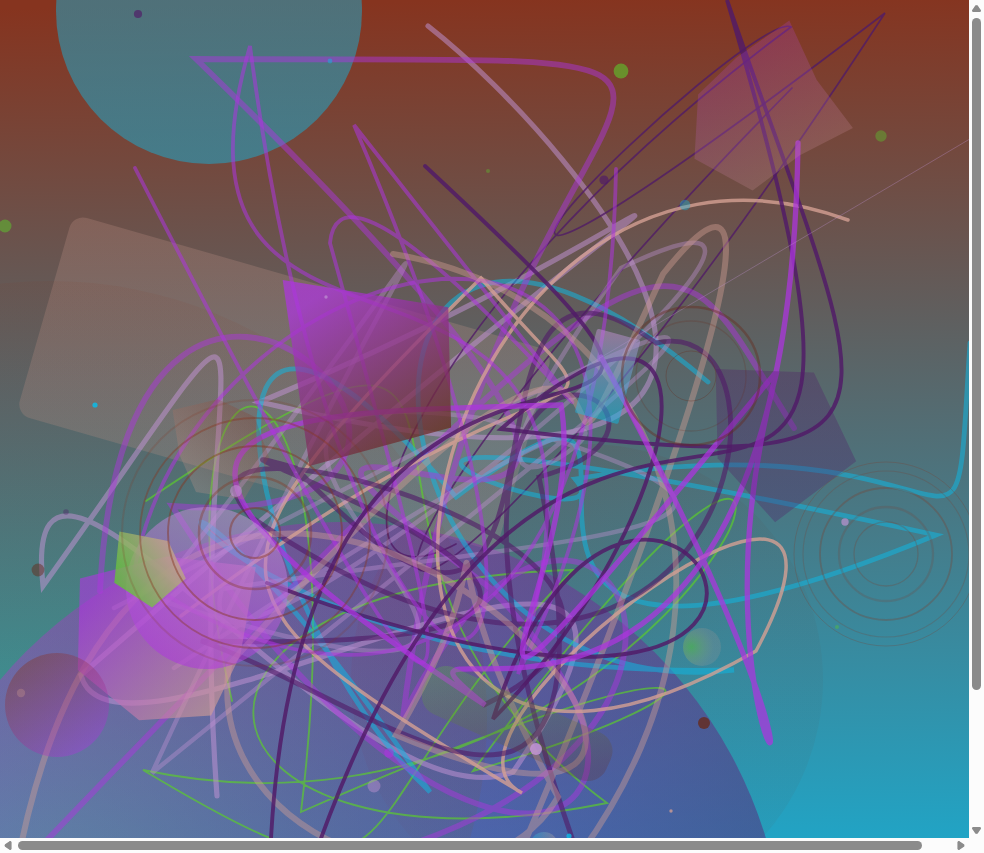
From here the PNGs went straight into the Pinata/IPFS upload. If a browser-rendering approach still feels wrong to you, I'd be curious what your Windows SVG pipeline uses.


Comments
Post a Comment