Origin Quantum vs IBM Quantum: the same circuit, two very different workdays

My plan for the Quantum Genesis collection was one chip, start to finish. I picked Origin Quantum because their WK_C180 processor offers 180 superconducting qubits through a pyqpanda3 SDK that looked simple enough to drop into our pipeline. We minted NFTs #1 through #18 on it without a hitch.
Then the chip went into maintenance. Queue times became unpredictable — sometimes nothing, sometimes hours. We still had 82 pieces to go, and they weren't going to wait. So I walked over to IBM Quantum with the exact same circuit, and the comparison wrote itself.
This is the developer-level side-by-side I wish I'd had before starting. No vendor benchmarks, no marketing — just the two SDKs, the errors that cost me time, and the numbers from shipping 100 seed generations in production.
The setup: same circuitry, two clouds
Every seed in the collection came from a 12-qubit max-entropy circuit — Hadamard gates to create superposition, alternating CNOT layers to entangle the qubits, then a full measurement. The outcome histogram gets hashed with SHA-256 into a 64-character hex seed. Identical logic on both platforms, but the developer experience around the edges could not be more different.
| Feature | Origin Quantum | IBM Quantum |
|---|---|---|
| Chip | WK_C180 (180 qubits) | ibm_fez (156q), ibm_torino (133q) |
| SDK | pyqpanda3 v0.3.4 | qiskit + qiskit-ibm-runtime |
| API style | QCloudService (REST wrapper) | QiskitRuntimeService + Primitives |
| Shots per job | 8,000 | 4,096 |
| Speed per NFT | ~5-10 s (when available) | ~19 s (consistent) |
| Queue wait | Unpredictable (none to hours) | Seconds to minutes |
| Free tier | Yes (limited credits) | Yes (Open plan, ~10 min/month QPU) |
| Documentation | Sparse, mostly Chinese | Extensive English docs + tutorials |
| Circuit format | QProg (pyqpanda native) | QuantumCircuit (OpenQASM / Qiskit) |
| Transpilation | Server-side (automatic) | Client-side (preset_pass_manager) |
Origin Quantum: setup and code
The origin cloud is reached through pyqpanda3. Installation is a single pip command. Everything after that is less pleasant — the documentation is thin in English, and I ended up reading SDK source code to answer questions the docs never addressed.
pip install pyqpanda3Here's the seed-generation code we ran on WK_C180:
import os, hashlib
from pyqpanda3 import QCloudService, QProg, H, CNOT, measure

# Connect to Origin Quantum Cloud
service = QCloudService(
    api_key=os.environ["QCLOUD_API_KEY"],
    url="http://pyqanda-admin.qpanda.cn"
)
backend = service.backend("WK_C180")

# Build max-entropy circuit: H + CNOT on 12 qubits
num_qubits = 12
prog = QProg()

for i in range(num_qubits):
    prog << H(i)                    # Hadamard: equal superposition
for i in range(0, num_qubits - 1, 2):
    prog << CNOT(i, i + 1)          # Entangle adjacent pairs

# IMPORTANT: pyqpanda3 requires explicit qubit AND cbit lists
prog << measure(list(range(num_qubits)), list(range(num_qubits)))

# Execute on real quantum hardware (8000 shots)
result = backend.run(prog, shots=8000)

# Convert measurement counts to deterministic seed
raw_bits = "".join(f"{k}:{v}" for k, v in sorted(result.items()))
seed = hashlib.sha256(raw_bits.encode()).hexdigest()
print(f"Quantum seed: {seed}")
Two gotchas here, both of which cost me real time.
First, the API URL has to be http://pyqanda-admin.qpanda.cn — not the public site, qcloud.originqc.com.cn. Nothing in the docs points this out; I found it by reading the SDK source. Second, measure() in pyqpanda3 needs the qubit indices and the classical bit indices given explicitly — measure([0,1], [0,1]). The older pyqpanda package didn't require this, and the change is barely documented.
IBM Quantum: setup and code
IBM's onboarding is the other extreme. Create an account at quantum.ibm.com, copy an API token, install two packages, and you're running circuits on real hardware within minutes.
pip install qiskit qiskit-ibm-runtimeimport os, hashlib
from qiskit import QuantumCircuit
from qiskit_ibm_runtime import QiskitRuntimeService, SamplerV2
from qiskit.transpiler.preset_passmanagers import generate_preset_pass_manager
# Connect to IBM Quantum
service = QiskitRuntimeService(
channel="ibm_quantum_platform",
token=os.environ["IBM_QUANTUM_TOKEN"]
)
backend = service.least_busy(min_num_qubits=12, operational=True)
# Build the same H + CNOT max-entropy circuit
qc = QuantumCircuit(12, 12)
for i in range(12):
qc.h(i)
for i in range(0, 11, 2):
qc.cx(i, i + 1)
qc.measure(range(12), range(12))
# Transpile for target hardware topology
pm = generate_preset_pass_manager(backend=backend, optimization_level=1)
transpiled = pm.run(qc)
# Execute with SamplerV2 primitive (4096 shots)
sampler = SamplerV2(mode=backend)
job = sampler.run([transpiled], shots=4096)
result = job.result()
# CRITICAL: SamplerV2 uses 'c' register, NOT 'meas'
counts = result[0].data.c.get_counts()
raw_bits = "".join(f"{k}:{v}" for k, v in sorted(counts.items()))
seed = hashlib.sha256(raw_bits.encode()).hexdigest()
print(f"Quantum seed: {seed}")IBM's gotchas are about API churn instead. The channel name changed from ibm_quantum to ibm_quantum_platform recently, so older tutorials throw authentication errors. And SamplerV2 reads results from the c classical register, where SamplerV1 used meas — code copied from older guides silently breaks.
There's also a philosophical difference worth flagging: IBM requires you to transpile client-side, mapping your abstract circuit onto the processor's physical topology. Origin handles this server-side. IBM's model gives you control and visibility; Origin's is simpler but opaque.
Randomness quality: no winner
Both platforms deliver the same physics. Our circuit puts 12 qubits into maximal superposition and entangles them in pairs, producing a distribution across all 4,096 possible bitstrings (2^12). Origin's 8,000 shots per job give a smoother histogram than IBM's 4,096, but both are more than enough to feed a SHA-256-derived seed with 256 bits of entropy.
> Both Origin Quantum and IBM Quantum produce measurement distributions that pass chi-squared uniformity tests. The differences between platforms are in developer experience and tooling, not in the quality of quantum randomness.
Where the developer experience divides
IBM wins on: documentation — comprehensive English docs, interactive tutorials, a free textbook. The Qiskit ecosystem is enormous: circuit visualization, transpilation analysis, error-mitigation libraries. Stack Overflow and a Discord server answer questions fast. The API is stable and well-versioned, service.least_busy() picks a machine in one line, and the error messages tell you what's actually wrong.
Origin wins on: raw qubit count (180 vs 156), a beefier free-tier shot budget (8,000 vs 4,096), and completion speed when the queue is empty — 5 to 10 seconds a job. No client-side transpilation step at all: submit and get results. And there's one thing IBM can't offer: hardware that most western developers will never get access to.
The friction on each side. Origin's is documentation. I read Python source code just to discover the measure() signature, error messages sometimes arrive in Chinese, and the API URL is documented nowhere obvious. Fine if you enjoy unfamiliar territory, maddening if you want guidance. IBM's is churn: the SamplerV2 result format, the channel renames, and a steady stream of outdated tutorials. Batch jobs also hit queues — we occasionally waited five minutes between generations. But the docs always catch up, and the community is immediate.
If I had to start over
- Easiest onboarding and best documentation: IBM Quantum
- Fastest raw job execution: Origin Quantum
- Largest ecosystem and community support: IBM Quantum
- Hardware provenance you can't get elsewhere: Origin Quantum
- Learning quantum computing from scratch: IBM Quantum
- Multi-platform provenance for a project like ours: both — start on IBM, then explore Origin
The practical answer for most people: learn and prototype on IBM, then try Origin once you're comfortable with circuits. Running the same job on genuinely different hardware is a great way to understand what your code actually depends on.
The collection is the proof
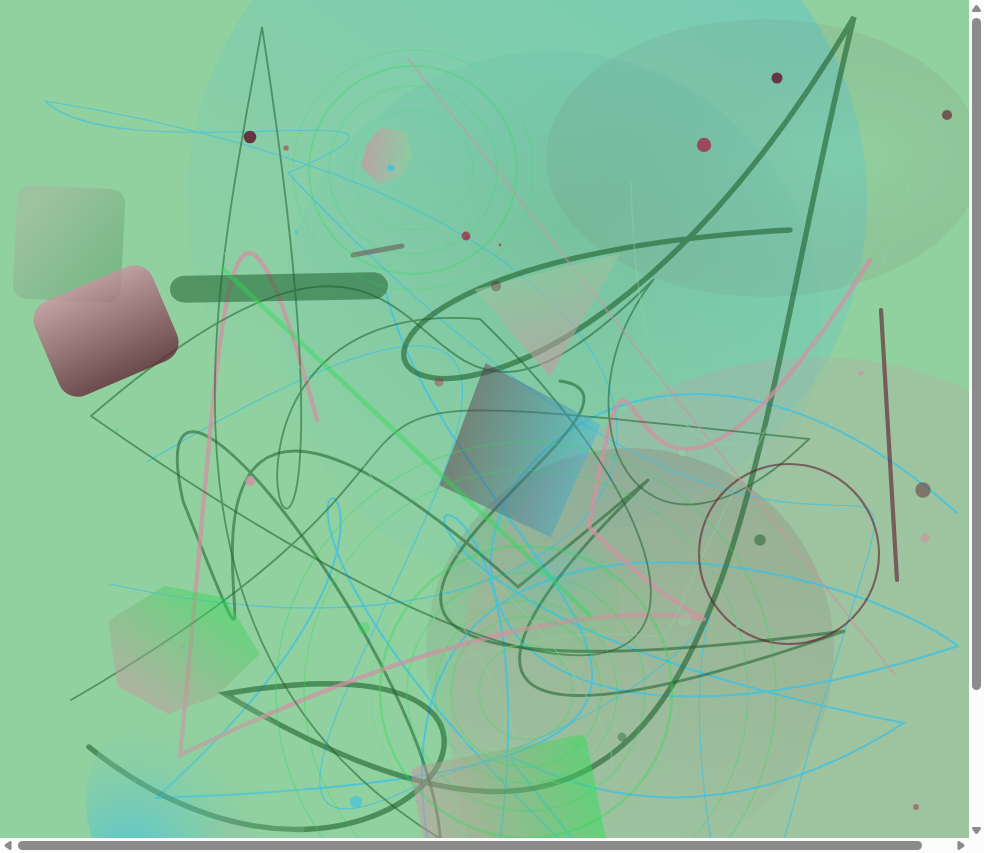
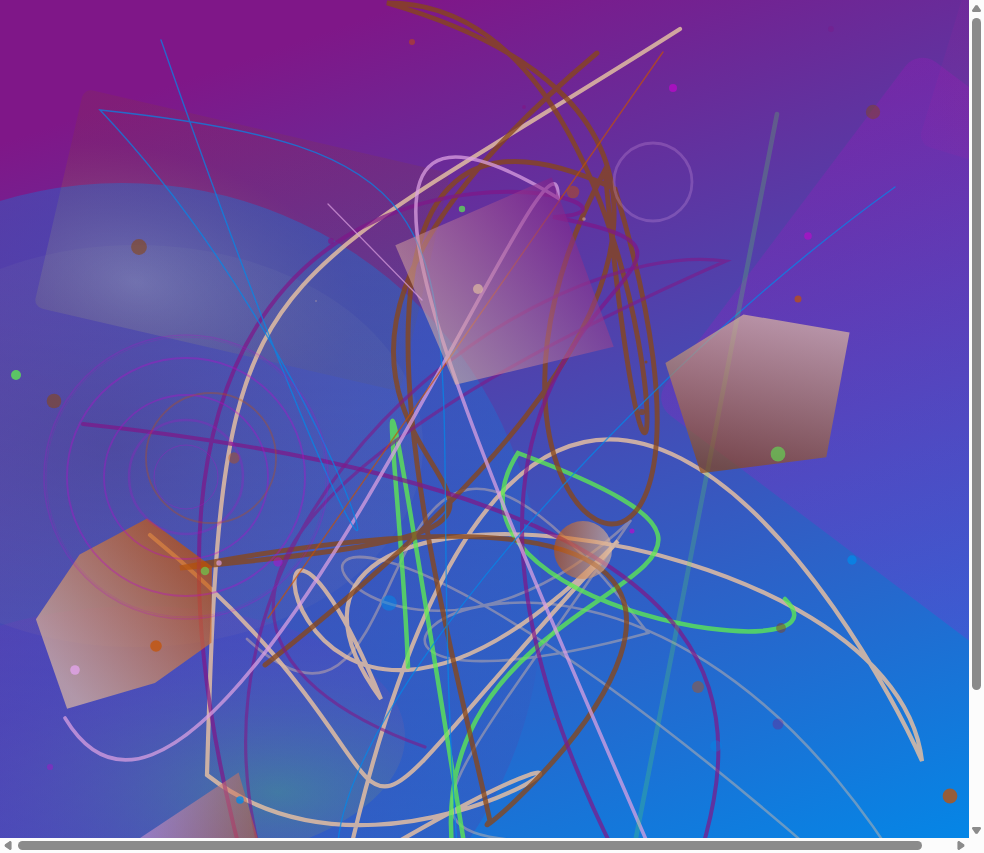
Every NFT in Quantum Genesis carries on-chain metadata naming the machine that produced its seed. NFTs #1–18 record "quantum_backend": "WK_C180" with "quantum_provider": "Origin Quantum". NFTs #19–100 record "ibm_fez" or "ibm_torino" with "IBM Quantum".

NFT #5 — Origin Quantum WK_C180
NFT #25 — IBM Quantum ibm_fez
NFT #50 — IBM Quantum ibm_fez
The art is indistinguishable across platforms, which is exactly the point: both produced equally random seeds. What differs is the paper trail. The 18 Origin pieces record a slice of Chinese quantum computing history that won't be minted twice. All 100 live on Polygon at 0x488fCfaEA5fDf1cF6BAED5e8A34D7858033E1a27, with art and metadata pinned to IPFS.
In the next post I'll walk through the full pipeline end to end — measurement counts becoming seeds, seeds becoming SVG, SVG becoming on-chain NFTs — with every layer's code. If you want to chime in on the comparison below, or tell me which gotcha you hit first, I'm reading the comments.


Comments
Post a Comment